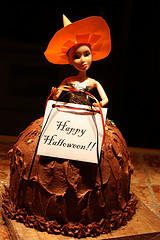
Allergy-Friendly Witch Cake
by Laura Giletti
Use a safe cake recipe such as:
Wacky Cake (can be made free of milk, egg, soy, wheat, gluten, nuts, corn)
Use a safe chocolate frosting such as:
Chocolate Silk Frosting (can be made free of milk, egg, soy, wheat, gluten, nuts, corn)
It is recommended that the cakes be baked a day or two in advance before assembly and decoration.
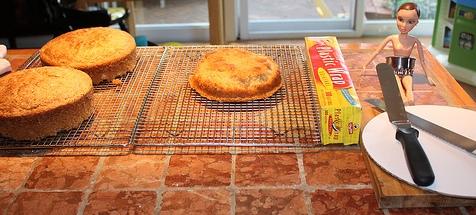
1. Bake safe cake in multiple layers. For the top layer, use an oven-proof bowl or a small cake pan. Make sure to line the pans with parchment and/or use plenty of shortening in the pans to allow for a clean release when you turn them out. I used a 6" pan for the top and two 8" pans for the lower layers. Each of the two lower layers is a double batch of Wacky Cake and the top layer is a single batch.
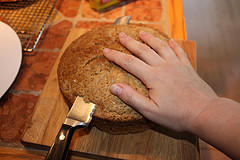
3. Once completely cooled, torte the cakes so that they can sit flat on top of each other. Take your knife and cut the cakes horizontally to level them off. You can also split the layers horizontally so that one layer becomes two and you can get in another layer of frosting, if you are so inclined.
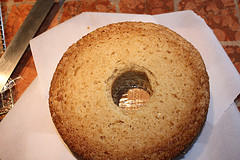
4. Take a round cookie or biscuit cutter and check that your doll will fit through the opening, then use the cutter to make a hole in the middle of each layer. Dry stack the cakes to ensure that the holes line up and that the doll fits. Also check that the skirt is the right height on the doll; if not, make necessary adjustments. Remove doll.
 | 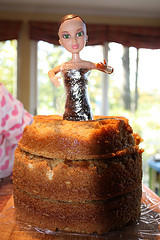 |
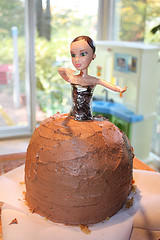
5. Using a long, serrated knife, cut the cake into a dome shape by removing corners. Your frosting will help you smooth it all out later. Remove the layers to prepare for the crumb coat.
6. Prepare a double batch of frosting for a crumb coat. Take pieces of parchment and tuck them just under the edge of the bottom layer of cake to keep your cake plate clean. Frost the bottom layer. Add your subsequent layers (add frosting in between layers) and frost the top and sides as you go. Wrap the doll in plastic wrap to keep her clean. Insert the doll into the cake. Allow crumb coat to dry (overnight is preferred).
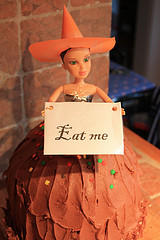
8. Decorate your cake however you like—using a piping bag or candies. Remove the parchment from underneath the bottom layer. Decorate the doll herself with a hat or other accessories.
Copyright © 2012. All rights reserved.



Comments (0)