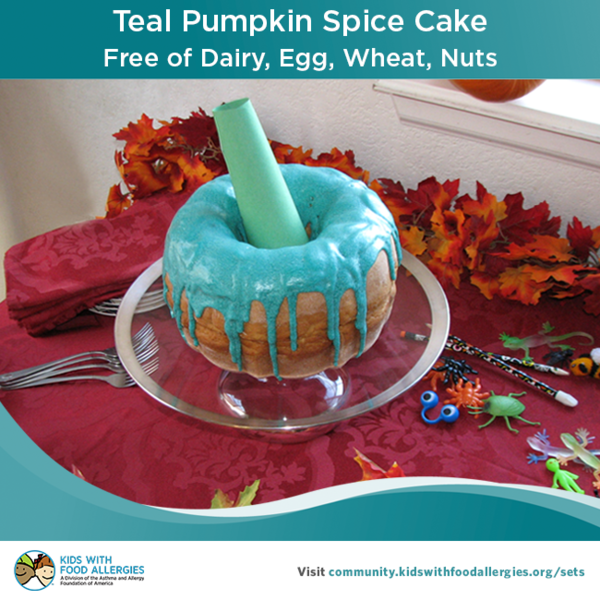
It’s October! The time of year to break out the sweaters, decorate for Halloween, and eat/drink Pumpkin Spice everything! It’s also the time of year to paint a pumpkin teal and prepare non-food treats for trick-or-treaters. We’re doing this in our house and I hope you are doing it in yours!
So many celebrations are still about food though, and let’s face it, who doesn’t enjoy a safe, tasty treat? Introducing the Teal Pumpkin Spice Cake!
This delicious beauty is top 8 free! It can also be corn free if you use organic powdered sugar with tapioca starch and other safe-for-you ingredients (flour, vanilla, colors, etc.) Decorate this cake with teal frosting and bring it to your next Halloween party! It’ll be a great way to spread awareness about the #KeepItTeal campaign and show everyone that allergy-friendly food can taste delicious too!
Pumpkin Spice Bundt Cake
(You will need to make TWO of these! ¹ )
Ingredients (for each bundt cake)
3 cups + 6 Tbsp all-purpose flour or good quality gluten-free flour mix ² (Important! See below for flour options)
1 1/2 cups sugar ³
2 tsp baking soda
1 tsp salt
1 tsp ground cinnamon
1/4 tsp ground nutmeg
1/4 tsp ground ginger
1/8 tsp ground cloves
3/4 cup pumpkin puree
2 Tbsp vinegar (apple cider, white, or your favorite safe-for-you variety)
6 Tbsp aquafaba (the cooking liquid from a can or pot of garbanzo beans) 4
2 tsp vanilla extract
2 cups cold water
Pan-greasing agent of your choice
1 Tbsp gluten-free flour
1/8 tsp cinnamon
Teal Frosting Ingredients
8 Tbsp of a safe-for-you “butter” spread, softened (I used Earth Balance ® Soy-Free Sticks)
1 tsp safe-for-you vanilla
3 cups powdered sugar
4-6 Tbsp safe-for-you “milk” of your choice (I used Rice Dream)
A good squirt of teal food coloring - available at craft stores, as long as the ingredients are okay for you. Try a combination of green and blue “natural” food coloring if you have trouble with corn or food dyes, in particular
Stem
Green piece of construction paper,
or
Green ice cream cone, if your allergies allow
Directions
1. Start by greasing your bundt pan with the anti-stick agent of your choice. Coat the pan evenly, spreading it around with your fingers or a paper towel, if necessary.
2. Mix together 1 Tbsp of gluten-free flour with 1/8 tsp of cinnamon. Use this mixture to dust the inside of your pan. Start with the area around the center hole, as it is the hardest to reach. This is an key step, because the outside appearance of your pumpkin cake is important so you don’t want it to stick. The cinnamon mixed with the flour will help the outside of the cake keep a good color when it comes out of the pan.
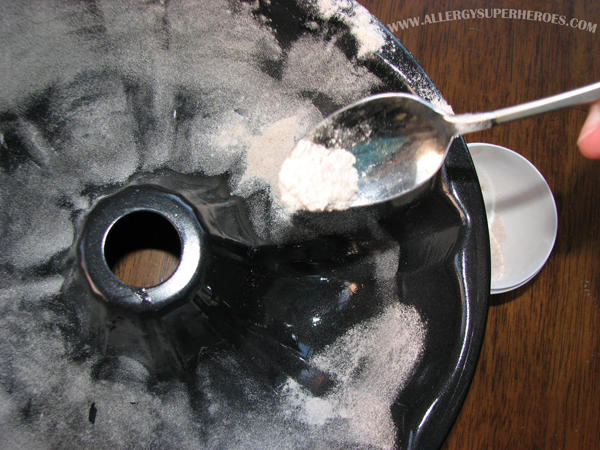
3. In a large bowl, mix together the dry ingredients (flour, sugar, baking soda, salt, and spices) until thoroughly combined. You can use about 1/2 Tbsp pumpkin pie spice instead of the individual spices.
4. Heat your oven to 350°F.
5. Add the pumpkin, aquafaba, vanilla, vinegar, and water to your bowl, in that order. Mix immediately until combined, making sure to scrape all the way to the bottom with a spatula.
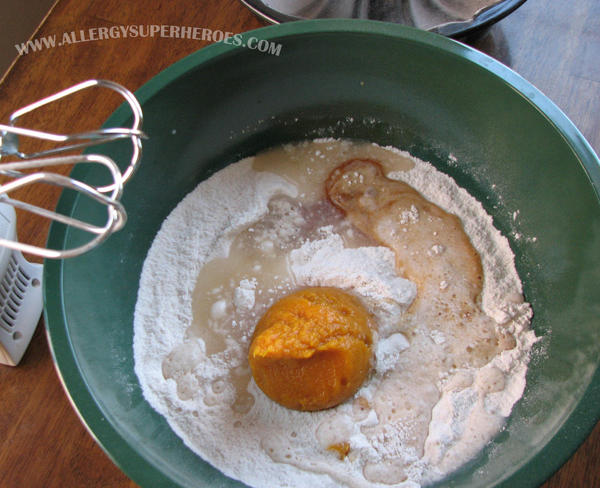
6. Pour the batter into the bundt pan.
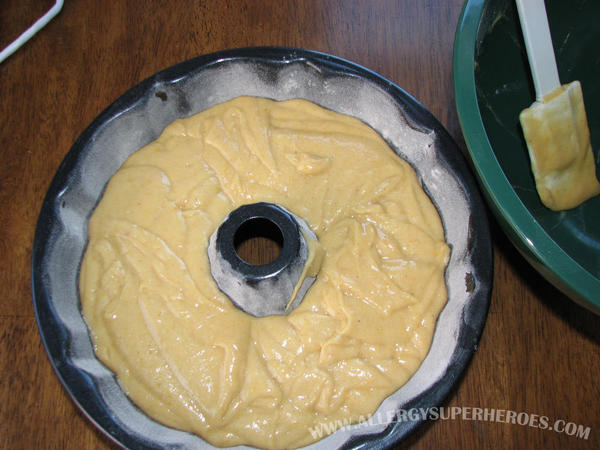
7. Bake for about 1 hour, or until a skewer inserted in the middle of the cake goes in easily and comes out mostly clean. Start checking at 45 or 50 minutes, just to be sure. These cakes are pretty dense (one slice goes a long way) but they shouldn’t be wet or gummy inside.
8. Remove from the oven and allow to cool until you can touch the pan.
9. Place a piece of plastic wrap on top of a cooling rack. Turn the cake pan upside down onto the lined cooling rack, allowing the cake to slide out. Allow cake to cool completely.
10. Once cool, wrap the cake tightly in plastic wrap and place it in the freezer. Repeat for your second cake. Wait until both cakes are frozen before moving on.
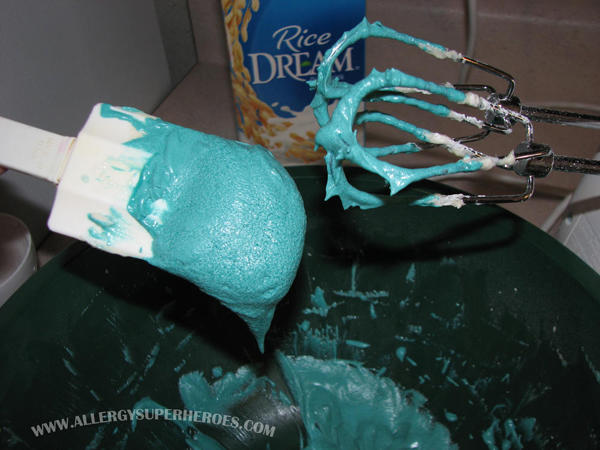
11. Make your frosting! Place your softened “butter” or spread in a bowl and beat until soft and smooth. Add vanilla and mix until incorporated.
12. Add your powdered sugar about a half-cup at a time, allowing it to incorporate fully with each addition. Once it starts to get stiff, alternate adding your powdered sugar with about 1 Tbsp “milk”. Your goal is a consistency that will s-l-o-w-l-y drip but will mostly hold together.
13. Once you’ve reached your desired consistency, add coloring until you get your desired shade and vibrancy.
14. Once your frosting is ready, remove your first cake from the freezer and unwrap it. With a serrated knife, carefully slice the uneven “bottom” off the cake so you have a flat surface. I had to cut off small chunks at a time to make sure my surface remained in good condition. Transfer your cake to a platter, still upside down.
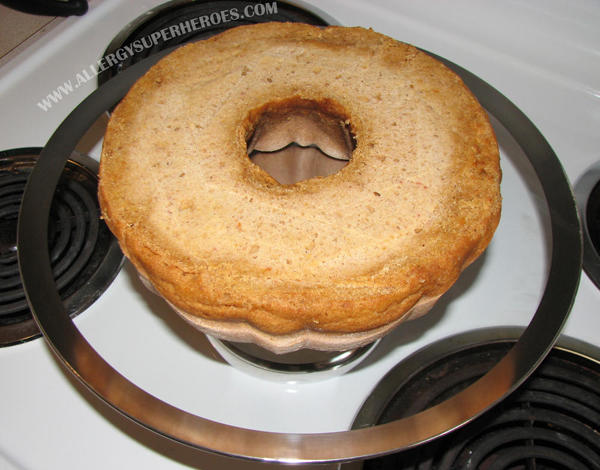
15. Remove your second cake from the freezer. Repeat the above process, trimming off the uneven “bottom” so you have another flat surface. Carefully flip this cake over and place it on top of the first, forming a pumpkin shape. Be sure to line up the ridges!
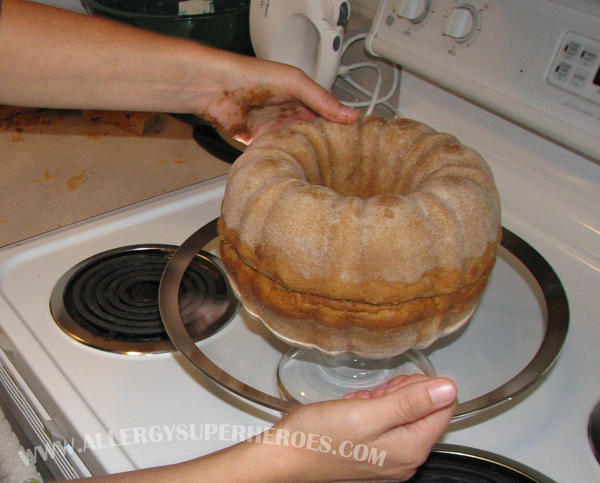
16. If your pumpkin feels unsteady, use a few skewers to hold the two halves securely together. Trim the skewers so that they will disappear completely into the cake.
17. Heat your frosting in the microwave for 5-10 seconds. You want it to get thinner, but not too runny. If you nuked it for too long, place it in the freezer for a few minutes to thicken up.
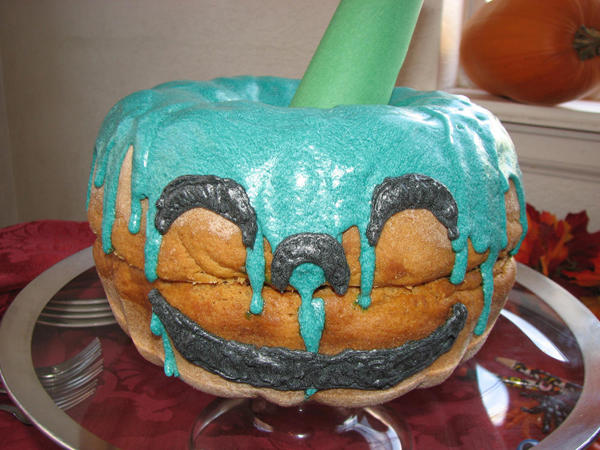
18. Carefully spoon your teal frosting over your cake, allowing it to drizzle down the sides. The frozen cake should help the frosting stiffen up, leaving artful drips. Do small sections at a time, and start with your cake’s worst side. It may take you a few drizzles to get the hang of this. When you’re finished, clean up any drips that made it all the way to the platter. (Save your leftover frosting, you’ll want it once you serve the bottom bundt cake!)
19. Roll up a green piece of paper and stick it in the center of the cake for a stem. Or, if your allergies allow, use an inverted, green ice cream cone.
20. (Optional) Tint some leftover frosting black. Scoop it into an icing bag, and pipe a jack-o-lantern face on your pumpkin!
I hope everybody has a happy, safe, and very teal Halloween!
Notes
- If two cakes are too much for your occasion, you could make just one bundt cake and turn it into the top half of the pumpkin. Or make two half-size cakes (start checking for doneness at 30 minutes) and proceed as above. These cakes are pretty heavy, so one slice goes a long way!
- If you don’t need, or want, to make this cake gluten-free, use all-purpose wheat flour (see sugar note below.) I successfully made it with a few gf flours, but others turned out very gummy. Flour mixes with a higher proportion of rice seemed to be more gummy. Flour Mixes with a wider variety of ingredients and starches worked better.
Flour mixes that worked well:- Pamela’s All-Purpose Flour - Produced on shared equipment with products containing tree nuts, soy, eggs, and milk.
- Lillabee Everyday All-Purpose Flour - available at natural grocery-type outlets in the Rocky Mountain Region
- Deby’s Gluten-Free Food All-Purpose Flour Blend - available at their store in Denver, CO
- Bob’s Red Mill Gluten Free 1 to 1 Baking Flour - did not work AT ALL
- Kathy P’s Brown Rice Flour Mix - was extremely gummy
- Bella Gluten-Free All Purpose Baking Mix was a little sticky - not perfect but not horrible
- If you make this with all-purpose wheat flour, increase the sugar to 2 cups.
- This recipe needed some extra lift, so I fell back on the new miracle egg replacer. If you have a chickpea/legume allergy, substitute with 2 eggs-worth of your favorite egg replacer. We found that flax works best.
I’d like to express my sincere gratitude to the many gluten-free bloggers who helped me figure out this cake: The GF Jules, Petite Allergy Treats, and particularly to Chef Froggie. Thanks for your baking advice and experience!
 Eileen Rhoadarmer will never own a small purse, as she carries epinephrine, Benadryl, and inhalers for three people (herself included.) This life led her to co-create Allergy Superheroes, an empowering line of allergy awareness gear to protect allergic superheroes when they’re saving the world on their own. She blogs about food, allergies, and life at 2nd Gen Allergy Mom. Her KFA username is 2ndGenAllergyMom.



Comments (2)