If you’ve ever shopped for white chocolate, you may have noticed that it’s not particularly allergy friendly. Most of it carries nut cross-contact warnings, and it always contains both milk and soy. The few dairy-free white chocolates out there still contain soy. When I started thinking about this blog post, I wanted to create a white chocolate free of the most common food allergens.
White Chocolate Free of the Most Common Food Allergens
Ingredients
- 4 ounces food grade cocoa butter
- 1 cup powdered sugar
- pinch of salt
- 2 tsp coconut flour OR rice flour OR rice milk powder
- 1/3 of a vanilla bean
WARNING: Don’t get water in your chocolate. Not even from the ingredients.
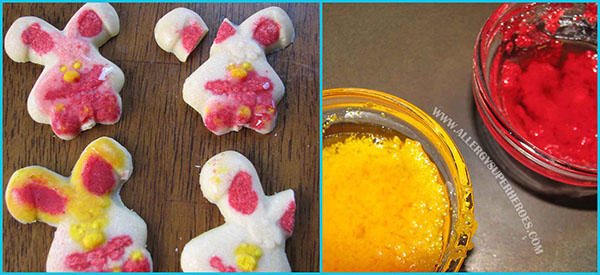
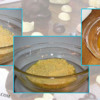
Water is the enemy of chocolate. Chocolate is basically sugar dispersed in cocoa fat, and sugar would much rather bind with water. Think about getting water in your sugar bowl—the sugar clumps together. Getting even a drop of water in your chocolate has the same effect; the sugar clumps together, leaving your chocolate with a grainy mouthfeel and a chalky texture when it hardens. In my first few trials, I used a vanilla extract with a high water content and my chocolate came out grainy. It got worse when I added some water-based food coloring. Want to see?
A few notes about the ingredients:
COCOA (or CACAO) BUTTER
Make sure your cocoa butter is food grade (it’s also sold for cosmetics.) I discovered that many cocoa butters will carry a cross contact risk with major allergens. I contacted several companies and Raw Food World Raw Organic Cacao Butter was the only one that verified that they were top 8 safe. Also available on Amazon.
I’m sure there are other safe cocoa butters out there, but by the time I got this confirmation, I was tired of looking.
POWDERED SUGAR
If you don’t want the cornstarch or tapioca starch usually found in powdered sugar, you could “powder” your own by blending it in a blender with a grinding blade. You might want to reduce the sugar to 2/3 of a cup if you do this, as it won’t be diluted.
SALT
The only salts I had in the house were coarse grain, so I ground some up in my Magic Bullet Blender until it was a powder. If you don’t have fine grain, I recommend doing this. You don’t want large, undissolved salt adding grain to your chocolate.
COCONUT FLOUR/RICE FLOUR/RICE MILK POWDER
This is where a traditional white chocolate would have dry milk powder. You can use any of these items, whichever is safest for your family (and that you can find.) A higher protein content is preferred. I used both coconut flour and rice flour, in different batches. I was afraid the coconut flour would make the chocolate taste like coconut (which I hate.) I bought some anyway because Hubby strongly hinted that he wanted coconut-flavored white chocolate, so I was going to surprise him. However, I didn’t taste any coconut in the finished product. If you don’t want to use coconut though, the rice works just as well.
VANILLA BEAN
If you’ve never used a vanilla bean before, relax—neither had I. It’s quite easy to do, and will get vanilla flavor into your white chocolate without using an extract. If you are unable or unwilling to use a vanilla bean, go for 1 tsp or less of a pure vanilla extract with as low of a water content (and higher alcohol) as you can find, or even more preferably, a vanilla bean paste. It didn’t take much to make my chocolate grainy though, so I highly recommend using a bean. It will give your chocolate pretty little flecks of vanilla, too.
Directions
Use a scale to measure your cocoa butter, and then chop it into small pieces. Cocoa butter takes longer to melt than ready-made chocolate, so the smaller your pieces, the faster your job will be.
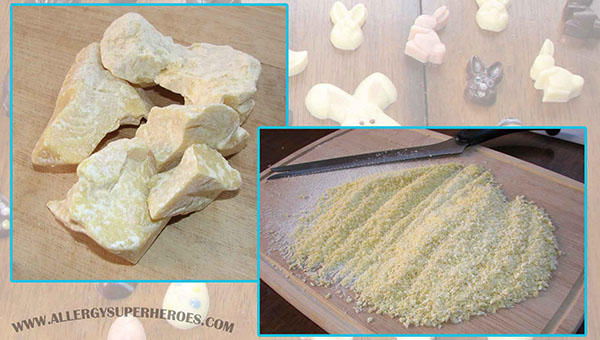
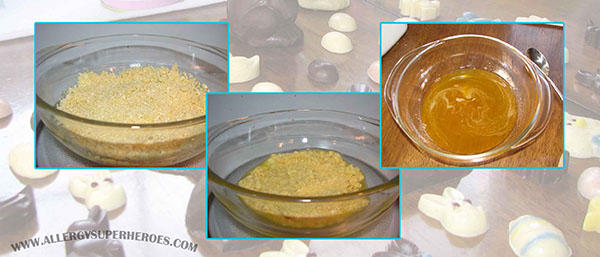
Place your cocoa butter into a microwave safe bowl and heat for 30 second intervals at 50% power. Stir every time before heating more—just like with regular chocolate, you don’t want to burn it (ask me how I know.)
You’re going to want to temper your white chocolate, and you can’t seed it this time. The easiest way I found to do this was to heat the cocoa butter and then allow the other ingredients to cool it down, and then heat the entire concoction up a bit more before pouring. So once your cocoa butter is fully melted, use a thermometer to check its temperature. Continue heating it at 50% power for 20 or 30 second intervals until the cocoa butter reaches a temperature of 120°F.
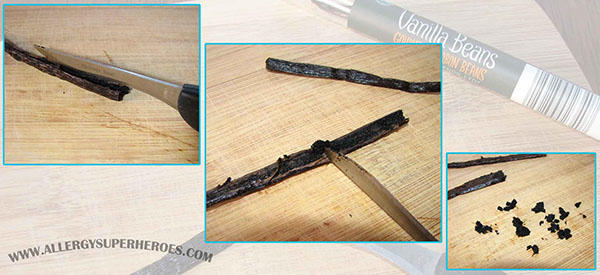
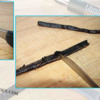
While your cocoa butter is melting, use a paring knife to split your vanilla bean in half. Place each half on a cutting board, use one finger to hold the narrow end of the bean down, and use the blunt edge of the paring knife to gently scrape the vanilla seeds out of the pod. Repeat with the other half.
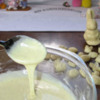
Once the cocoa butter has reached the correct temperature, add the salt, coconut/rice flour, and vanilla seeds and mix to incorporate. Gradually add your sugar and mix until smooth. You’ll want to use a small whisk or fork, and get out all the lumps. Once you’re done, check the temperature again. Ideally, you’d like it to get down to about 79°F before carefully heating it back up to about 87°F.
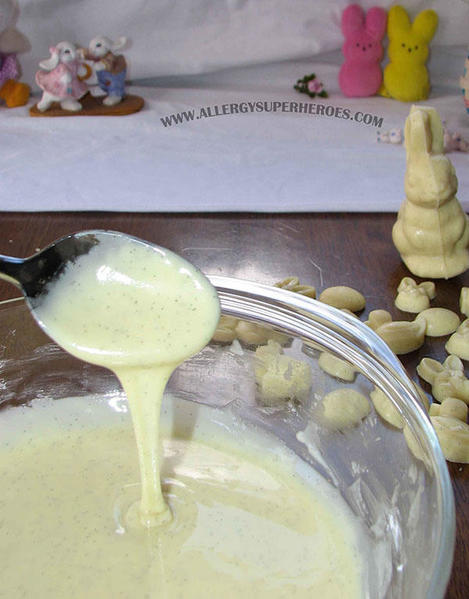
MOLDING AND ADDING EMBELLISHMENTS
You are now ready to pour your chocolate into molds. If you’d like to color some of your white chocolate, you can add embellishments to your molded chocolates. This is optional.
WARNING: Do not use a water-based food coloring.
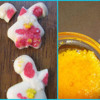
In fact, hopefully you can do better than I did. I thought I had found a good powdered food coloring, TruColor. It’s got a huge color selection, it’s entirely made from fruit and vegetable colors, AND it’s free of all major allergens. However, it turns out it’s supposed to dissolve in water before use. I tried dissolving it in melted cocoa butter and adding it directly to melted white chocolate, but neither really worked. This is what I used for my pink color, and you can see flecks of pink in addition to the flecks of vanilla. Not quite what I was going for.
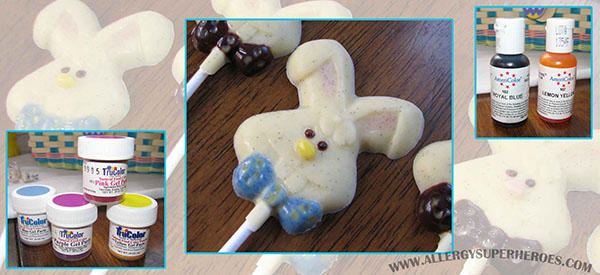
For my yellow and blue, I tried using just a tiny bit of these gel colors that I usually use for my icing. They’re water-based, but I thought maybe I could keep the amount low enough to not affect the chocolate. All I did was dip a toothpick in the color, wipe it off, and then used that to stir into a little cup of white chocolate. It worked really well with the yellow, but the blue didn’t incorporate as well and also got a little grainy again.
If you want to color your chocolate, look for an oil-based or a powdered food coloring—one that is designed to color chocolate or confectionery coatings. If you wing it with water-based colors, use a toothpick and keep it small like I did.
Anyway, put small amounts of your white chocolate into little cups or jars and color them as needed. I placed mine on our pancake griddle and turned it to its lowest setting to keep the chocolate from getting too cool and hard. You could do this with an electric skillet, too.
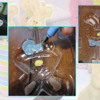
Using decorating brushes (they’re just plastic-bristled paint brushes) or even a toothpick, gently dab the colors where you want them on the mold. Once your colors are done, place your mold in the freezer for just a minute or two to solidify the colored chocolate. Then let the mold sit for a minute at room temperature until any condensation disappears. If you’re painting one color on top of another like in my bunny’s bow tie, freeze the dot color before covering with the tie color. Continue freezing between layers until your embellishments are done.
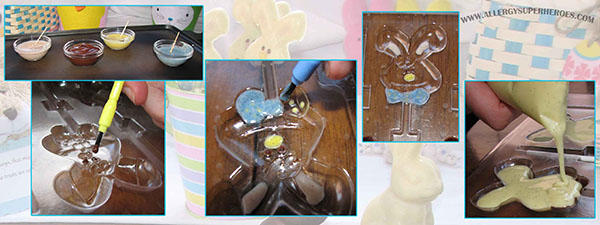
Once your embellishments are hard, fill your molds with your fill color. Don’t forget to tap out bubbles, and add sticks for lollies. Place the mold in the freezer, just as you did with solid chocolate.
If you’d like to wrap your finished chocolates, your local craft store probably carries candy bags that will fit your needs.
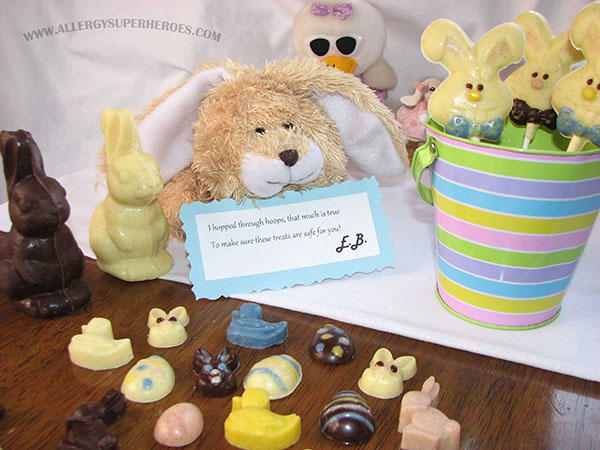
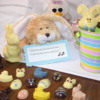
Ta da! A beautiful assortment of chocolates that you know is safe for your kiddo, because you made them yourself. The Easter Bunny really outdid himself this year!

Eileen Rhoadarmer will never own a small purse, as she carries epinephrine and inhalers for three people (herself included.) This life led her to co-create Allergy Superheroes, an empowering line of allergy awareness gear to protect allergic superheroes when they’re saving the world on their own. She blogs about food, allergies, and life at 2nd Gen Allergy Mom. Her KFA username is 2ndGenAllergyMom.


Comments (11)