Finding an allergy-friendly cake from a bakery can be difficult. With these tips and a little practice, you can bake a delicious and beautiful cake. But you say:
"Help! I've never baked a cake before, much less frosted one! What do I do?"
First, don't panic! It's not all that difficult and frosting can hide a multitude of sins - LOL!
There are lots of ways to bake, frost, and decorate a cake. Not every home baker will care that their cake frosting is smooth and their cake is level...and that's okay! My kids actually like that my cakes look homemade and not from a bakery. In their opinion, homemade tastes better anyway!
My early cakes were awful but I worked with what I had - both ingredients and skills. The tips and tricks I give here are based on the methods I've learned hanging out with professional cake decorators. Some may seem over the top and unnecessary, but read through them anyway. A little know-how, the right equipment, some patience and lots of practice will have you making cakes you can truly be proud of!
Baking and Cooling Your Cake
Start by baking your cake. Recipes can be found in KFA’s Safe Eats recipe collection or on the Food, Nutrition and Recipes blog collection, Post your questions about recipes or substitutions in the Food & Cooking support forum.
Most of my directions here are assuming a round cake. I prefer to use a 3" high pan, but it's fine if you only have shallow 1 1/2" or 2" layer pans. If you have a 2" or 3" pan, bake your cake batter all in one pan - make sure your pan is not more than 1/2 full of batter for a 3" pan or 2/3 full for a 2" pan. If using 1 1/2" layer pans, each pan should be 1/2 to 2/3 full. If you are baking a wheat/gluten free cake, generally smaller and thinner is better.
Most mixes or recipes are perfect for a single 2" or 3" pan. If you are unsure of how your cake will bake up, you can loosely wrap foil up around the sides of your pan to catch any overflow or put it on a sheet pan in case it goes over the top. I generally lower the temperature of my oven by 25 °F when baking deeper cakes. This allows the center to cook more evenly and results in less of a dome.
If I am dividing my batter among multiple pans, I use my kitchen scale to even out the batter as much as possible. This means that the cakes will bake up more evenly - in the same time and to about the same height.
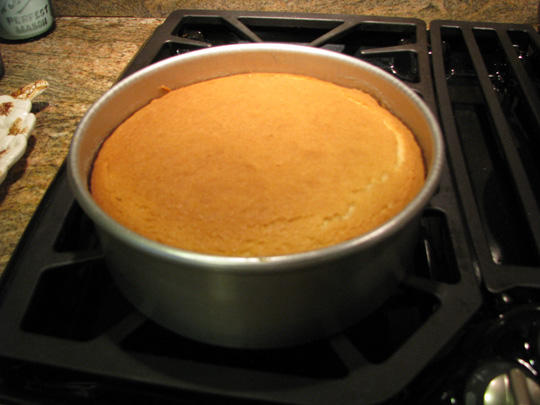
When your cake(s) are done, remove from the oven to a cooling rack. It's important to use a rack for air circulation underneath. Sometimes I just set the pans on my gas stove burners and use that as a "rack." Allow the cake(s) to cool in the pan for about 20 minutes. This lets the structure set up. If you try to take the cakes out of the pan before the structure has solidified, it will fall apart and be a mess!
Once your cake has cooled a bit, you will need to turn it out of the pan onto a rack. You'll know it's cooled enough when you can handle the pans without oven mitts. If your cake has a large dome that extends over the top of the pan, use a long serrated knife to level the cake even with the top of the pan. Hold the knife parallel to the top of the pan and use a sawing motion to slice off the part that extends past the top. If you turn out a cake with a large dome onto a flat surface, it is likely to crack before you can get it flipped back over to the flat bottom.
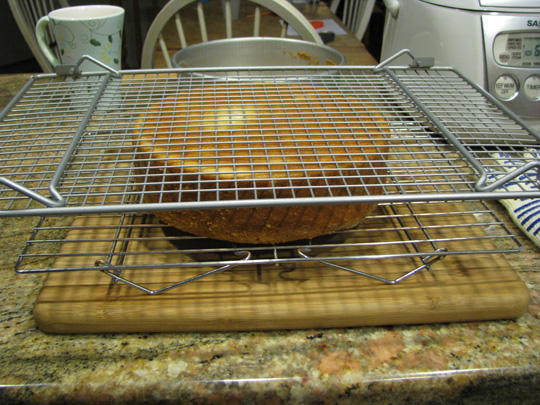
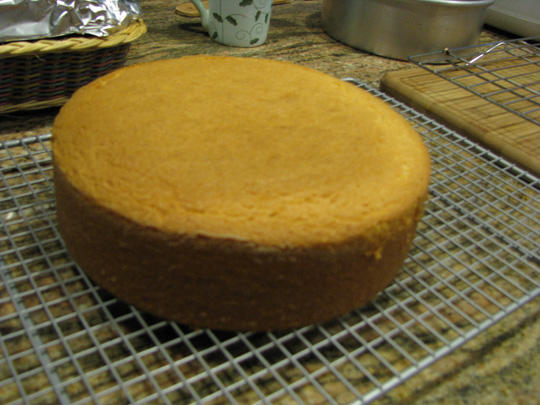
If you only have one cooling rack, use a flat cake plate or cutting board to flip your cake onto. You can put a piece of plastic wrap over it so it won't stick. Cover the pan with the rack/plate, hold them together and flip the whole thing upside down. You may need to give the whole thing a little jiggle, but if you prepared your pans well, the cake will slide right out. Remove the parchment paper if you used any. Now, turn the cake back over so that the flat bottom is down. To do this, put another rack on top of the cake, hold everything together and flip the whole thing over again.
If you leave the domed top down, the cake is more likely to crack. Allow your cake to cool completely to room temperature. It's important that it be on a rack and not a solid surface because the bottom will "sweat" and get sticky/gummy.
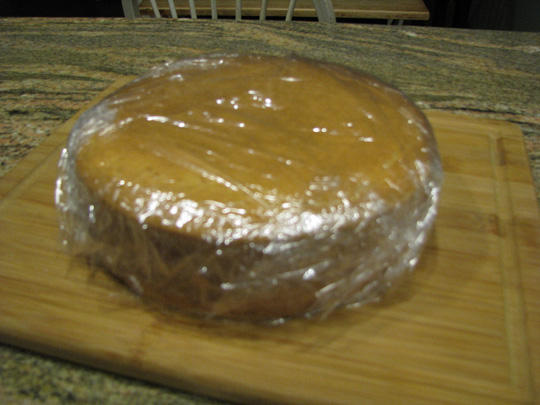
Your cake can now be wrapped carefully in plastic wrap and refrigerated or additionally wrapped in foil to be frozen for later use. I generally leave it wrapped on the counter if I'm going to frost it within the next 2 days. If you are dealing with non-wheat cakes and are not going to frost it right away, it is best to freeze them as they tend to go stale much more quickly.
Next in this series, we'll learn how to level and torte your cake to create a layered cake.
Kathy Przywara is the mother of two children with food allergies and started as a volunteer for Kids With Food Allergies Foundation (KFA), a division of the Asthma and Allergy Foundation of America (AAFA), since it opened as a nonprofit. She is the Sr Community Director for the Asthma and Allergy Foundation of America. Her recipe for Wacky Cake remains one of KFA's most popular recipes.


Comments (2)