by Kathy Przywara
Tasty bread that will hold up in a sandwich is the holy grail of wheat and gluten-free baking! That challenge is even harder when you also need to bake without milk and eggs. With these tips and my Gluten-Free Sandwich Bread recipe, you can have a great sandwich!
1. Measure by Weight
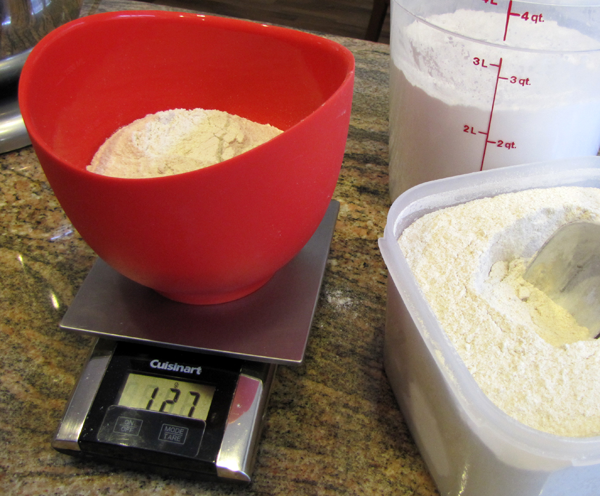
Flours and starches can easily compact or fluff up. Measuring them by volume (cups) can cause big differences in the amount you measure. Gluten-free baking is quite fussy about the wet to dry ratio. Weighing your flours and starches on an inexpensive gram scale means that you get the same amount every time. Your baking will be much more consistent. You can find kitchen scales on Amazon and your purchase will benefit KFA.
2. Whip the Dough
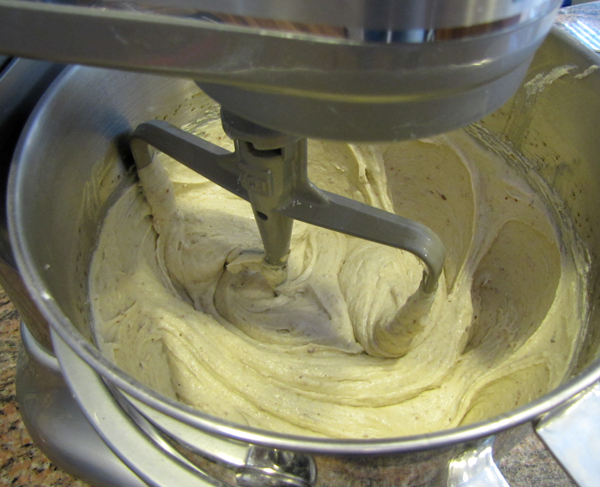
Kneading bread dough can be therapeutic. The soft, silky feel of the dough as you knead your stress away. Gluten-free dough doesn’t roll that way! It’s a sticky mess that is more of a thick batter best made in a stand mixer. But, don’t use the mixer’s dough hook. Use the paddle attachment. This whips air into the batter and activates the xanthan gum that replaces the gluten structure.
3. Use Parchment
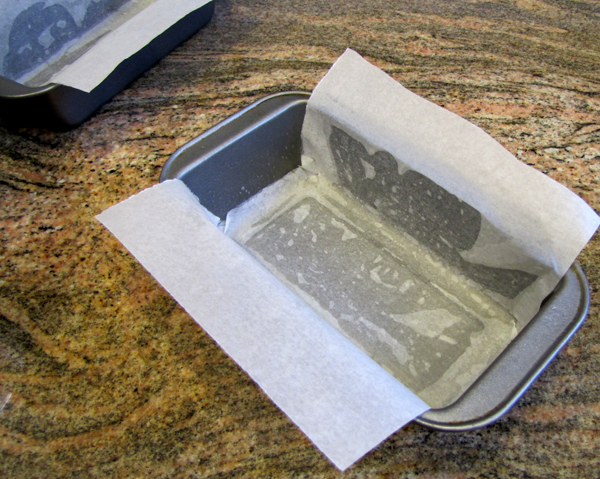
The soft, batter-like dough needs to be baked in a bread pan. It also needs to be popped out of that pan while still hot so the crust doesn’t get soggy from condensation. Gluten-free bread needs gentle handling while hot or it can collapse. To make this easier, line your pan with a parchment “sling” so you can lift the whole loaf out of the pan. I pull my loaves out of the pan for the last 10 minutes of baking to get a nice crispy crust. The parchment makes this easy. I lift the loaf out of the pan and set it directly on the rack still on the parchment. I gently pull the sides of the parchment down.
4. The Wet Spatula Method
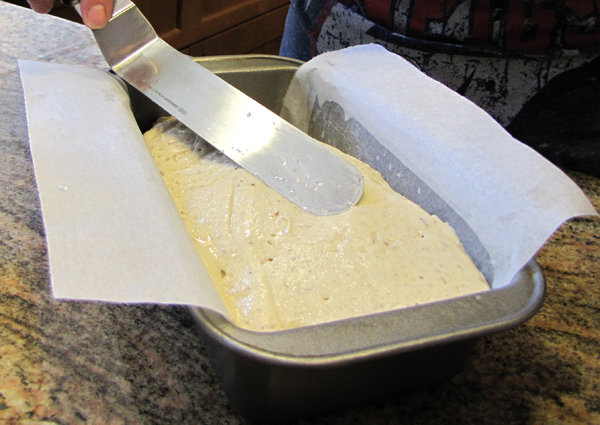
The “gluten cloak” is the smooth, elastic surface that forms on bread dough. This is what keeps all those lovely bubbles inside and makes the whole loaf expand instead of just splitting open. Gluten-free bread dough doesn’t have that smooth, elastic surface. There is no natural outside layer that forms. Smoothing the top with a wet spatula creates a surface that will stay smooth and expand better with less cracking.
5. Don’t Over-proof
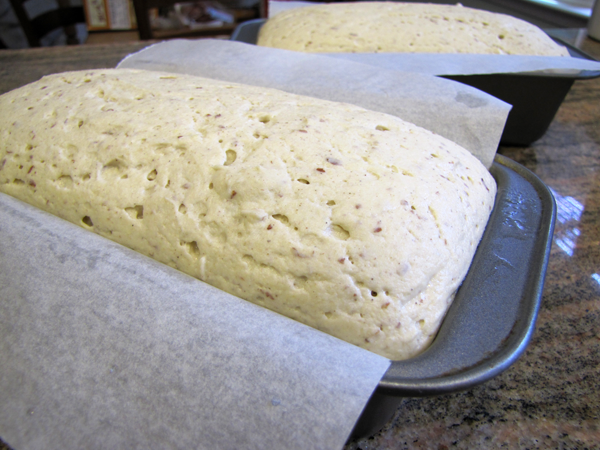
Gluten-free bread is quicker to make than wheat based bread because it doesn’t need as much proofing. Gluten-free bread only needs one rise done right in the baking pan. It’s important not to let that rise go too long or the whole loaf will collapse when you move it to the oven. Allow the bread to rise just to the top of the pan. You need to keep a close on eye on things especially if your kitchen is warm. Set a timer so you don’t forget to check on it.
Bonus Tip: Store Your Flours Properly
Whole grains like millet and sorghum have volatile oils that can go rancid. These flours can “go bad.” This is not in a way that will make you ill, but they won’t taste great. They certainly won’t make a great loaf of bread! Rancid flour will have a sour smell and a bitter/sour taste that cannot be fixed. Whole grains and whole grain flours are best stored in an airtight container in the freezer. I sometimes store mine in resealable bags so that I can get as much air out as possible.
You can store “white” flours and starches in the pantry. These are not affected by heat like whole grains. They are best kept in airtight containers especially in humid climates. I use antique Mason jars for mine and they live in a corner on my counter.



Comments (0)