How to Make Chocolate Easter Candy
by Laura Giletti
The fun thing about making chocolate and molding it is that you can adapt the same skill for any holiday, as long as you have the molds. Some molds allow you to place a lollipop stick to make chocolate lollies. Some molds are for solid shapes, giving you the chance to fill them with safe treats like marshmallow or to use your safe peanut butter or peanut butter substitute to make a Reese's® peanut butter cup style treat. Of course you can also simply fill them with chocolate too! Other molds are two halves of a shape which you can choose to have either solid or hollow. Hollow molds allow for filling with fun treats too!
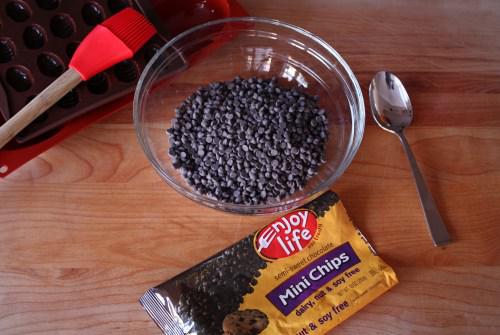
Here is my setup for today: a hollow mold and a solid mold, a pastry brush, a microwave-safe bowl, a spoon and chocolate chips safe for your allergies.
Start to melt the chocolate gently in the microwave. Start by microwaving the chocolate for 30 seconds. It will come out looking just like it did before, but give it a good stir to mix the warmer chips and the cooler chips together. If you do not stir the chips you can burn them. Ask me how I know.
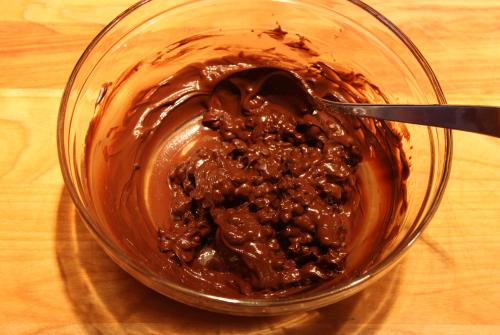
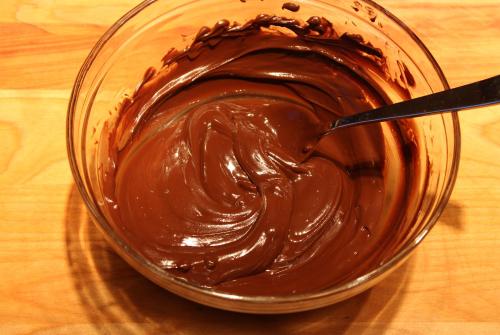
Give it another 30 seconds and stir. Depending on your microwave, you might need another 30-second burst or more. When it starts to melt, but before it is mostly melted, give it good stir and then let it rest for a minute. You can see how my chocolate is starting to melt but is still not ready to be molded. Your bowl will hold some heat, and you want to give the chocolate a chance to absorb that heat. We are aiming for all of the chocolate to be the same temperature as we go and for none of it to get too hot.
You are ready to continue in the microwave when the outside of the bowl is comfortable to the touch. Give it another good stir and put it back in the microwave for 15 seconds. Now it needs shorter bursts because you don’t want to overheat the chocolate.
If you look closely you will see there are still a few bits that are not melted, but they will melt soon from the warmth of the rest of the chocolate. This chocolate is ready to mold.
MOLDS come in different types:
Clear, plastic molds are cheap but have a tendency to crack or split easily and cannot be used for other candies (due to the high temperature of hot sugar).
Polycarbonate molds are what professionals use. With longevity comes a price as these molds are expensive.
Silcone molds are affordable and can handle hot sugar for making other candies and can also go into the freezer. Silicone is flexible, making the removal of the chocolates much easier.
To make a single-use mold, you can use aluminum foil and press the foil around a cookie cutter to take the shape. The candy will have a wrinkly texture as it is nearly impossible to get the foil flat.
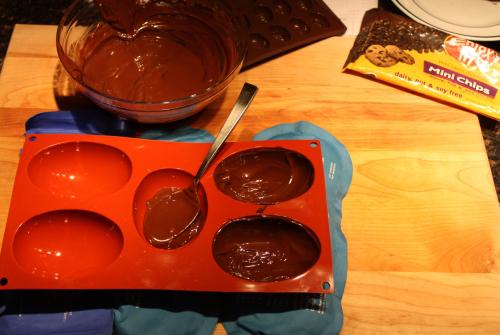
First the larger mold. I started to use the pastry brush, but actually the spoon worked better for smoothing the chocolate onto the curves of the egg shape. If you have a mold with little details, a pastry brush can ensure that the chocolate gets into every nook and cranny. An air bubble can ruin the effect.
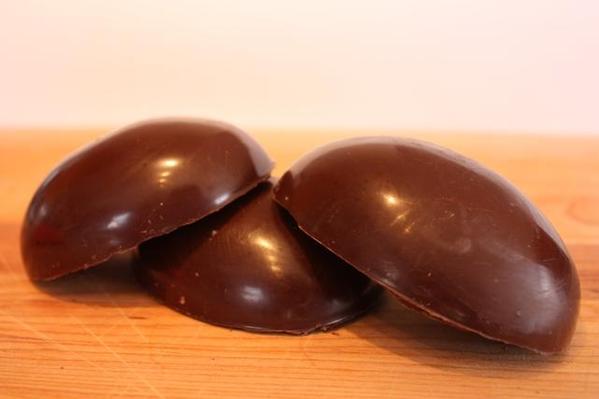
Continue until the mold is filled. This particular mold will obviously be used by putting the two halves together. Be sure to coat the sides thickly so that the chocolate is structurally sound. You will also want a thick edge so that you have good surface to glue the two halves together.
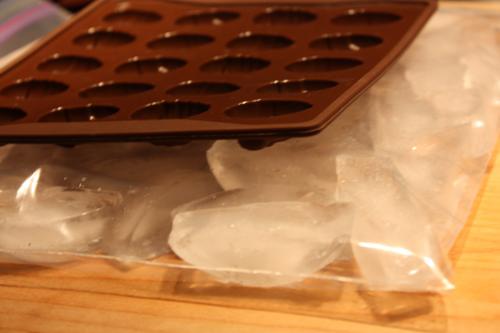
If you want you can stick the mold on ice packs—the blue things are reusable ice packs from the endless sports injuries DH and I have had over the years. If you don’t have reusable ice packs, you can use a zipper lock bag filled with ice cubes. For better stability, make sure the cubes are an even, single layer.
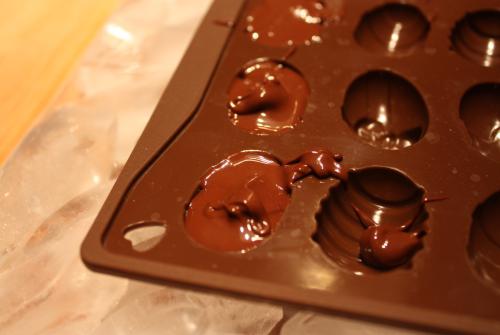
Solid molds are fairly self explanatory. Fill the holes. The ones I have here are fairly small and the pastry brush is not necessary, but it can be helpful for larger detailed molds. This part is pretty fun and yummy looking.
When I move the silicone molds, I like to put them on a cookie tray. It eliminates the worry about those rubbery soft molds coming apart in an unfortunate manner. Move the molds to the fridge for about 30 minutes to firm up. You want to refrain from keeping them in the fridge too long or they may develop a “bloom” which is a whitish layer on the outside of the chocolate. It’s not harmful, it just makes the chocolate less appealing to look at.
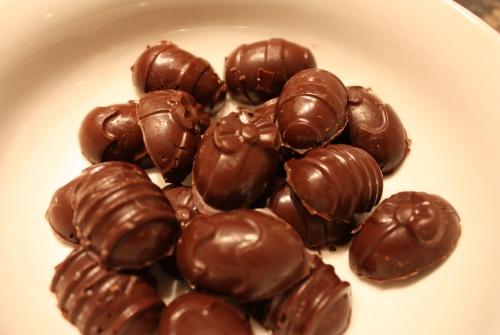
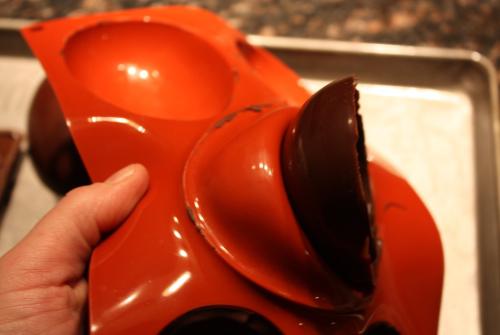
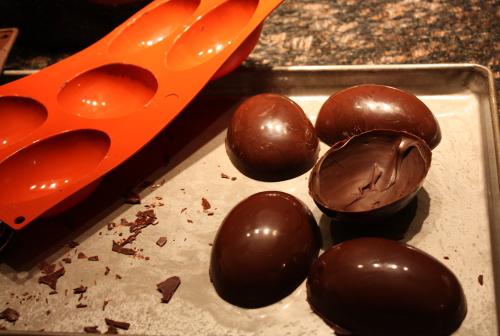
Take them out promptly and unmold. This is when you will be really glad you bought the silicone version! Look how easy this is. In fact, they were coming out a little too easily for me to get many photographs.
I am still puzzled why this egg mold makes five halves, since clearly you need them in pairs. The extra half must be a treat for the chef!
Store the chocolate at room temperature—remember the stores all keep the chocolate bars out at room temperature. There is no need to refrigerate chocolate. And as a last note, if you find you have some chocolate left after filling your molds, find some cookies and spread the chocolate thickly on top. Allow to cool and you can thank me later. These cookies are for the cook, she gets the best sneaky snacks.
Laura has been a member of KFA since 2005 and has volunteered to help us with our community and statistics for the past several years. She is the mother of 2 young girls and is an avid cook.
Copyright © 2012. All rights reserved.



Comments (13)