Yankee Doodle Biscuits
by Kathy Przywara
I'm a Yankee...I was born and raised north of the Mason Dixon line. I know about pretzels and scrapple. Biscuits were not a staple at our house. The rare times that we did have biscuits, they were Bisquick "drop biscuits" or pucks that exploded out of a cardboard tube. So, why is a Northern girl talking about biscuits? Because I figured out how to rock those babies! They may not hold a candle to your Southern grandma's buttermilk biscuits, but I bet she's not making them gluten-, dairy-, and egg-free. These come out flaky and wonderful and are still better than any biscuit I ever had as a kid!
This recipe started out as a tweak to Alton Brown's "healthier" biscuit recipe that used part whole wheat flour. I decided to tackle it gluten free, and I figured I could start with my brown rice flour mix and be able to lighten that up a bit with more starch to emulate the lower protein flour blend. I chose cornstarch since that adds nicely to the texture and there is not already cornstarch in the flour mix. If you can't use corn, swap it out for another starch (tapioca, potato, arrowroot).
I stumbled on to a number of tricks as I was perfecting this recipe.....
- Treat it gently - Even though there is no gluten to activate, you still need to handle this as little and as gently as possible. If you go all gangbusters, you will wind up with tough biscuits. Pat it out gently. Use a pastry blender for all the mixing to avoid transferring the heat of your hands to the dough.
- Uniformity is not your friend - When cutting in the fat, you want to leave some pieces larger than others. Don't work it until everything is "coarse meal". This goes along with....
- Flip and fold - This brilliant little trick dawned on me as I was looking at puff pastry methods where you work the fat in by wrapping dough around a block of butter then begin a process to fold and roll thus building up layers of flour and fat. In the heat of the oven, those layers of fat will melt bathing the flour to create lovely flaky layers. Leaving some larger pieces of fat and doing a couple quick folds really makes these biscuits flaky. Don't skip this step!
- Invest in a scale - I've converted over to weighing out my flours since even slight variations can effect the outcome of gluten-free baking. It's really worth the $30 investment for a scale. But I've included volume measurements for the scale impaired.
Yankee Doodle Biscuits
Ingredients
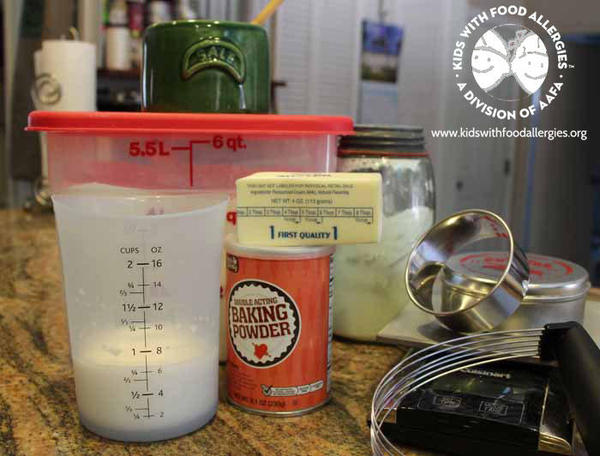
1 1/2 cups (154g) Brown Rice Flour Mix - see below
1/2 cup (64g) cornstarch
1 Tbsp baking powder
1 tsp salt
1/2 cup cold butter* or margarine, cubed
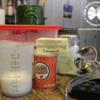
3/4 cup cold So Delicious coconut milk beverage
Substitutions and Notes
*If you use butter, this recipe will not be milk-free. There are milk-free (and soy-free) margarines available that can be used to make this recipe milk-free.
*If you want to make a sweet scone, add 2 Tbsp sugar to the dry ingredients. You can also brush the top with melted butter or margarine and sprinkle with coarse sugar.
Instructions
Preheat oven to 425 °F.
Measure out the dry ingredients into a large mixing bowl. Cut fat (butter or margarine) into small cubes using a sharp knife.
Using a pastry blender, cut in the fat. Don't overdo this; leave some larger pieces.
Pour the coconut milk in and, using the pastry blender, gently mix until you have a soft dough. This may seem a bit wet, but that's OK. Dust your counter liberally with flour mix and dump out the contents of the bowl.
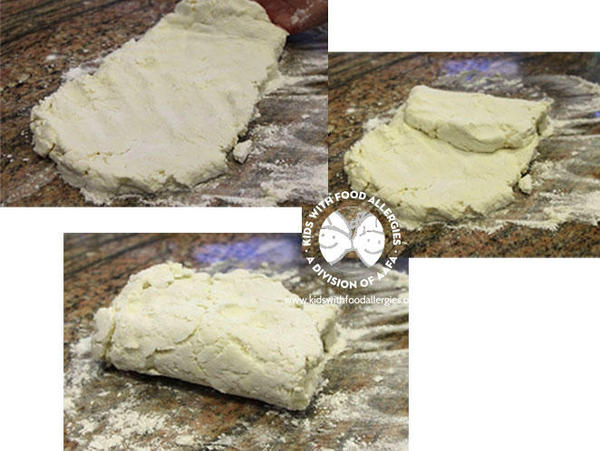
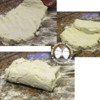
Using your hands, gently gather everything up and pat it together into a rectangle. Don't be afraid to dust with extra flour as needed. This actually helps maintain the layers of dough. Fold 1/3 over the center, then fold over the other side.
Give it a quarter turn and gently pat out into a rectangle again. Liberally sprinkle with flour to make sure nothing is sticking to the counter or to your hands. Repeat the folding, then pat out to rectangle again. This time, pat it out evenly to about a thickness of 1/2".
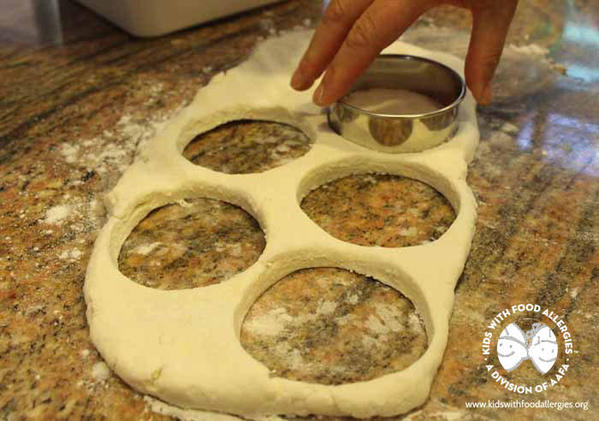
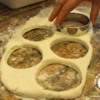
Cut out using a floured cutter. Place on a parchment lined baking sheet about an inch apart.
Gather up the scraps and gently pat it back together. This is a bit tricky as you need to smush it together enough so it doesn't just fall apart, but not so much as you loose your layers. Cut out as many more biscuits as you can.
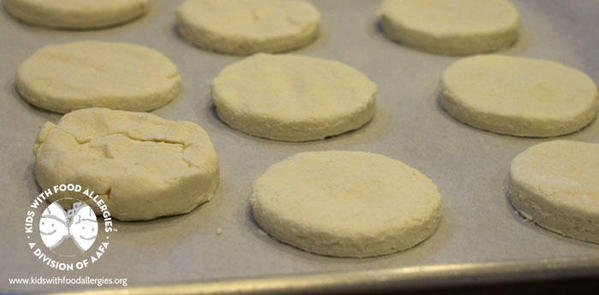
I generally do one more gather, pat, and cut. Those last scraps, I just gather up and pat into a round. That becomes my "cook's treat". You only get nice flaky layers when you have a clean cut on the edges. So, that last one that is just patted together and doesn't have cut edges will not puff up as nicely. That's OK - that one's mine! The one I get to eat with no guilt! See that one on the lower left? That has my name all over it!
Bake biscuits for 12-15 minutes depending on size. Because they are gluten free, they will only get slightly golden. Allow to cool a few minutes before serving. If you won't be serving them immediately, transfer to a cooling rack to keep them from getting soggy on the bottom. Nobody likes soggy bottoms.
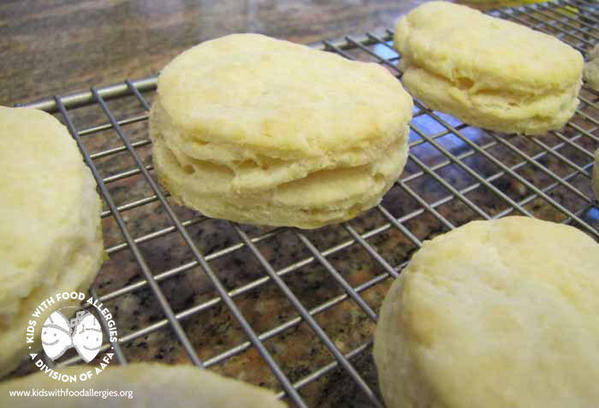
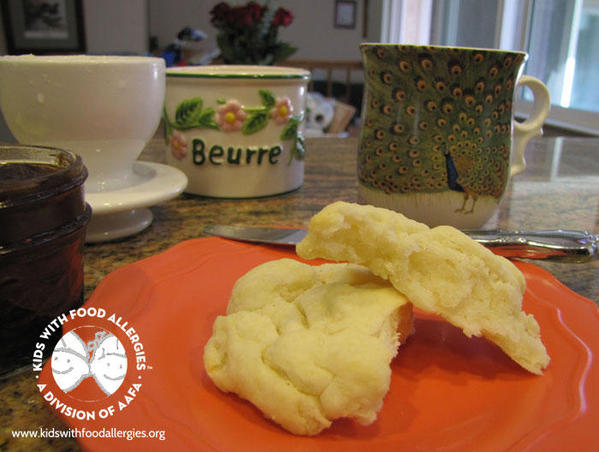
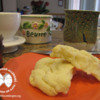
Don't they look fabulous? Check out those flaky layers! Yes, those ARE really gluten free! Enjoy your cook's treat with your tea and jam of choice.
Brown Rice Flour Mix (116 g/cup)
This is one of my go-to flour mixes that I keep on hand. It works well cup-for-cup in cookies and muffins. It already has xanthan gum in it, so usually you can omit any called for in recipes. This makes 4 1/4 cups, but I usually scale it up and make a quadruple batch.
1 cup (120g) brown rice flour
1 1/2 cup (180g) white rice flour
1/4 cup (36g) potato starch
2/3 cup (70g) tapioca starch
3/4 cup ( 81g) sweet rice flour (Mochiko)
1/3 cup (36g) arrowroot starch
2 tsp xanthan gum
Mix together thoroughly and store in an airtight container. Give it a stir before using.
The information shared here is for your convenience only, it is not an endorsement or guarantee of the product's safety. Please read the ingredient labels and contact the manufacturer if needed to confirm the safety of a product for your child.
JOIN NOW
Kathy Przywara is the mother of two children with food allergies and started as a volunteer for Kids With Food Allergies (KFA) when we opened as a nonprofit. She is now our community manager, volunteer coordinator and manages our recipe collection. Her recipe for Wacky Cake is KFA's most popular recipe.

Comments (41)